Laser Scanning/Metrology
We provide high quality and accurate laser scanned surface data that can be used for a wide range of customer needs.
Process
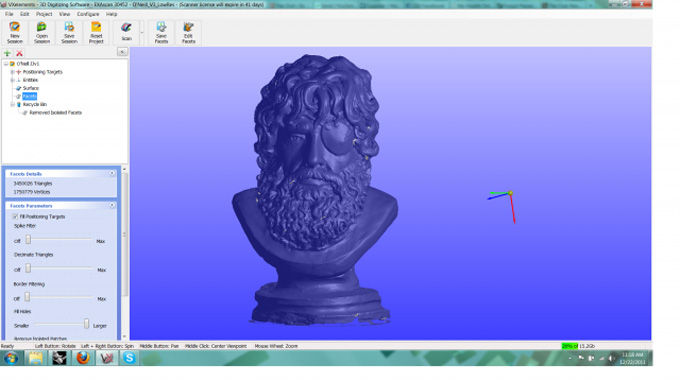
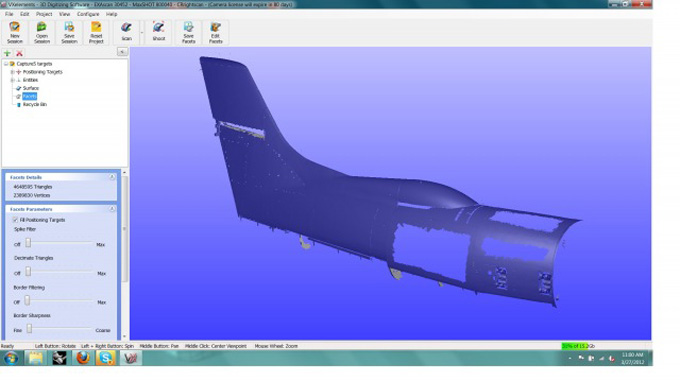
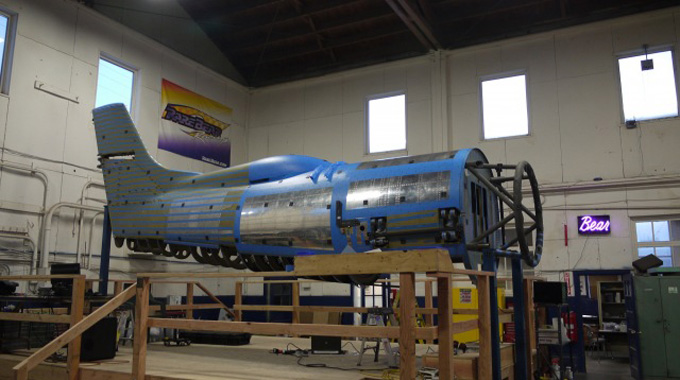
Our hand-held scanning process lends itself well to anything from small objects, up to entire aircraft with 100’+ wingspans. The level of detail desired (resolution) is selectable. This means that areas with little detail can be scanned quickly, and areas where very fine detail is required can be scanned at a higher resolution, but at a slower rate.We are happy to deliver anything from the raw laser scan data, NURBS surfaces or composite parts – each project is a unique challenge and addressed accordingly.
Equipment
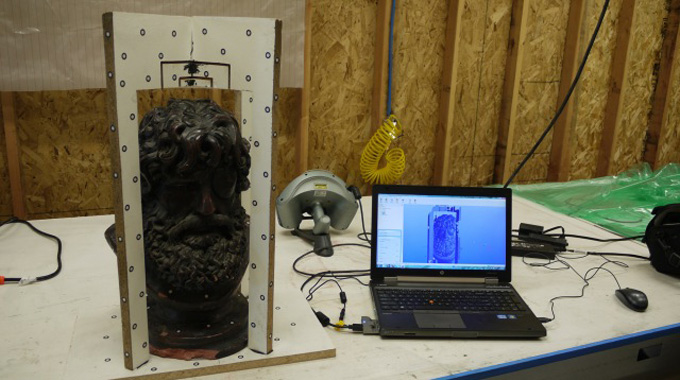
After evaluating all the laser scanning and metrology solutions on the market, we decided that the hand-held solutions from Creaform truly offered the most accuracy and flexibility in real world laser scanning environments. We believe this is the only solution that allows the flexibility to scan both exterior and interior spaces while maintaining accuracy between the scan areas. The Creaform approach allows for real world vibration and movement of the objects being scanned. Unlike tripod or arm based scanners, we can provide actual error and uncertainly values for the scan data, so that more informed design and manufacturing decisions can be made. For most jobs, the data uncertainty is in the ballpark of +/- 0.005”, even with shop noise and non sterile conditions. On large jobs with 100’+ lengths, we can maintain an uncertainty of +/- 0.015”. For more information on our approach, please read this write-up on why photogrammetry matters.
-
 Creaform EXAscan
0.0016” accuracy, 0.002 resolution
(0.002inch/ft volumetric accuracy) -
 Creaform MaxShot
0.0008 in. + 0.0003 in./ft volumetric accuracy


